On my younger one’s birthday, she asked for pancake, instead of cake. Go figure. But, since this was her only birthday request, I felt obliged to comply. So, I had to come up with a way to make a birthday cake, with pancakes!
You can find the recipe for the chocolate pancakes, that she loves so much, here. I decided to make 5 of these thick fluffy dark chocolate pancakes, and stack them up, and coat them with whipped cream, and top it off with a smiley face made of Cadbury's gems. Frankly, it was fun to do, and easier than baking a cake.
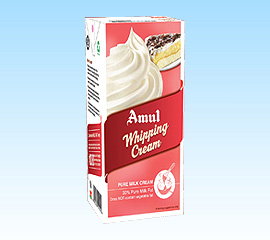
There was only one problem. In the past, I have had some bad experiences with whipping cream turning in to butter. To be safe, I bought three tetra packs of Amul whipping cream. Note that, this is not the low fat Amul cream, that is easily available at all grocery stores, but the Amul whipping cream which may be a little harder to find.
However the birthday cake turned out great, without any cream turning in to butter. So after the birthday, I was left with two packs of whipping cream. Now whatever was I to do with that? I made a fruit salad with one pack, and still had one more left. I wondered, if I could make ice-cream with it.
I know making ice-cream requires an ice-cream maker, but I decided to try anyway. Besides, how bad could it be, with such good ingredients? My girls unanimously voted for chocolate ice-cream, and I decided to give it a try.
By now, with all the practice, I was pretty good at whipping cream. So here is the recipe.
Ingredient
200 ml Amul whipping cream
2 and 1/2 tablespoons cocoa powder
1/4 cup hot drinking water
4 to 5 tablespoons icing sugar (depending on how sweet you like your chocolate ice-cream)
1 teaspoon vanilla
Procedure
Cool a 750 ml or larger glass bowl ,and the beaters of the electric hand mixer, in the freezer for an hour and a half.
Put the cocoa powder and icing sugar in a cup. Add just enough hot water to dissolve the cocoa and sugar. Stir with a spoon and mix till all the lumps disappear. Then set it to cool in the fridge.
Pour the entire whipping cream into the chilled bowl and beat it with the electric hand mixer on the lowest setting for a minute. Repeat this two more times or until you get soft peaks.
Now pour in the thick cool chocolaty syrup you made sometime ago. Add one teaspoon of vanilla essence.
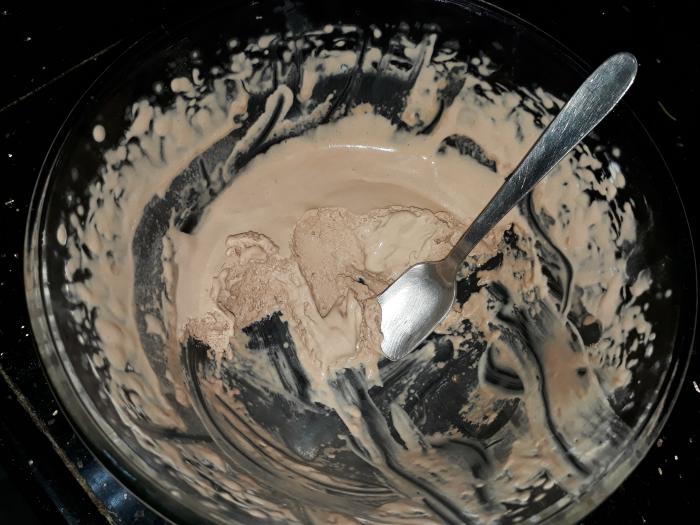
Mix using electric hand mixer again for one minute. Repeat till cream becomes thick and fluffy and rises to at least twice it’s initial volume.
Now taste the cream for sweetness and add some more sugar if you, or your kids prefer it sweeter.
Then leave it to cool in the freezer. Your ice cream should be ready in 2 to 3 hours.
The edges will freeze in about an hour and a half . So, if you, or your kids, are getting impatient, you can scoop out some ice-cream near the edges first and start eating, like we did, and left the rest to freeze so we could have a second round after dinner.
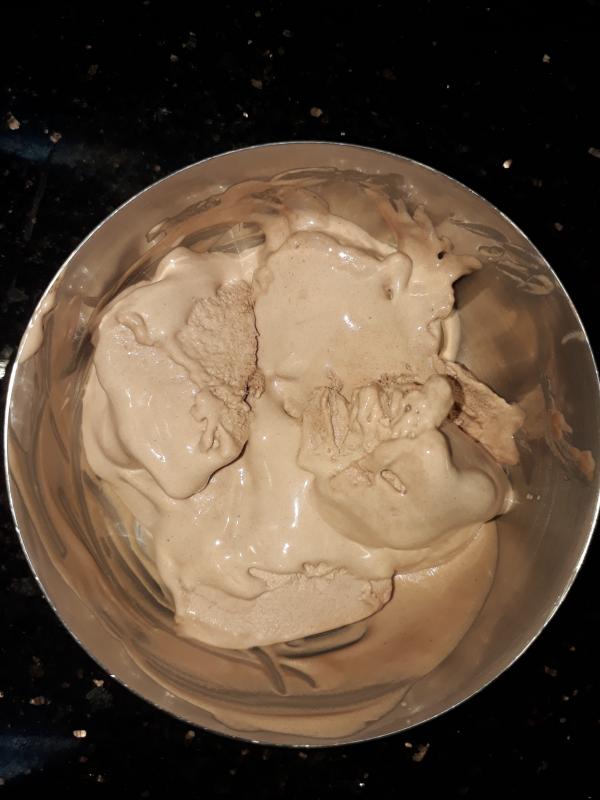
Here is a picture of the last bit of our ice-cream before it all disappeared in to my tummy.
It turned out great with an awesome aftertaste. But it does melt very quickly, so you need to eat fast.
Note: If you let the mixture sit in the freezer for too long (more than 5 or 6 hours) it starts to get a more icy rather than creamy texture. It still tastes good, but doesn't have the texture of icecream.
You can adjust the amounts of cocao and sugar to suit your taste.
This recipe is so simple, that if your kids are over five, they can probably make the ice cream themselves with supervision. So this is an activity and a delightful treat all rolled in to one.